 My treasure trove of files is organized!
 Every teacher has a list of tasks they have to keep up with. Some teachers have binders or a drawer in a filing cabinet. The easiest way for me to keep up with the paperwork is to have it in a portable file box so I can work on things at school, on the road, or at home. I don't have to carry the whole box around because I have a few accordion files for lightweight portability.
Remember your audience! How many times do we tell our students that? What do you have to remember? Well, who is going to evaluate the contents of your box? Most likely the principal or assistant principal, but what if someone from central office happens to ask about your evidence? What if you end up mentoring a teacher who is struggling with record-keeping? Your audience is likely in administration. Your audience may not know much about what you do in your discipline, may not know your content area, and may have a lasting impression of you based on your box. Therefore, it needs to make a good presentation--especially if you are not present to explain things. Frankly, your files should be so well organized that you don't need to explain anything to anybody. How can we make that happen?
Let's address the matter of the box itself. Let's create a great treasure, step-by-step.
Materials Needed for your "bureaucratic box" include:
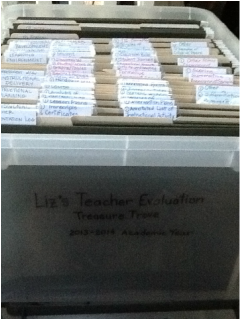
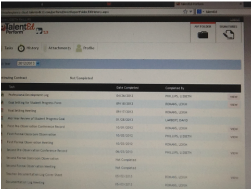
Your list of files should have categories. Using TalentEd's file folder headings is how I acquired mine. When online, I clicked those folders and discovered there were subheadings and archive suggestions for recording evidence. I added those to the file folder list. In my evaluation program, three are SIX different major categories that have subheadings. Rather than list them all, I have taken a picture of the whole box (see picture 1) and then created a left and right side in subsequent pictures (see pictures 2 and 3). Three quarters of my folders are assigned to the massive Category 1: Teacher Documentation! There's Professionalism, Instructional Planning, Instructional Delivery, Assessment of/for Student Learning, Learning Environment, and Professionalism. To keep it simple, all major headings were written in black ink and tabbed to the far left on the hanging folders. Major heading tabs are affixed to the front part of the file folder while subheadings go on the back part (see picture 4).
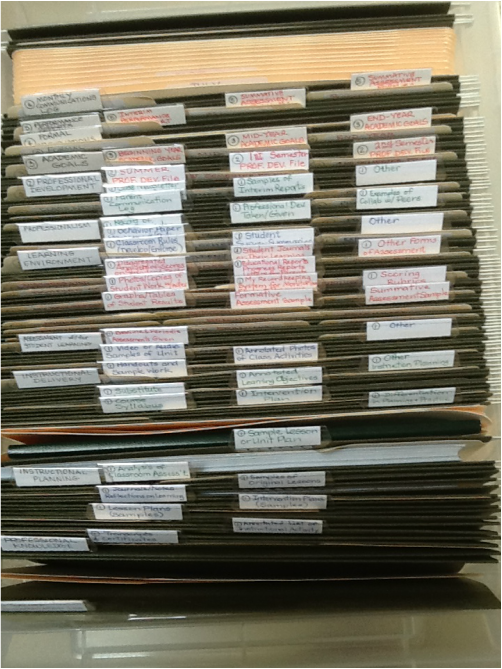
If you look at the the second and third pictures, you will note that I have used blue, red, and green ink for the subheading folders (anything black is a major category label). I made sure that the red ink was only used for assessments (formative, summative, student journals, etc.); for any graphs or reports generated from data; professional development (chunked into summer, first semester, second semester), and administrative reports about my performance as an educator. Every subheading folder has its main category number written in black ink so they are easy to keep organized. Category Six is titled Monthly Communications Log; because I know I had a ton of that last year, I inserted a file pocket for each month because hanging file folders won't hold everything. I also used those file pockets for the three times I will have an administrator observing a full class period. All materials, research/rationale, the lesson plan, and a file pocket checklist that also shows what was taught the day before and what will be taught the next day. I'll blog about that closer to Observation #1 time, I promise.
As you work through your files, you will start to realize that much of what is in the box is work you already do. My next blog will take a look at some of the "Duh!" files that you can fill long before the first bell rings at the end of summer.
Remember your audience! How many times do we tell our students that? What do you have to remember? Well, who is going to evaluate the contents of your box? Most likely the principal or assistant principal, but what if someone from central office happens to ask about your evidence? What if you end up mentoring a teacher who is struggling with record-keeping? Your audience is likely in administration. Your audience may not know much about what you do in your discipline, may not know your content area, and may have a lasting impression of you based on your box. Therefore, it needs to make a good presentation--especially if you are not present to explain things. Frankly, your files should be so well organized that you don't need to explain anything to anybody. How can we make that happen?
Let's address the matter of the box itself. Let's create a great treasure, step-by-step.
Materials Needed for your "bureaucratic box" include:
- plastic file box that can hold hanging folders
- third-cut manilla file folders
- manilla file pockets for thicker stacks of evidence
- hanging file folders
- plastic tabs for hanging file folders
- labels for manilla file folders
- black pen
- red pen
- other color pen (maybe two)
Your list of files should have categories. Using TalentEd's file folder headings is how I acquired mine. When online, I clicked those folders and discovered there were subheadings and archive suggestions for recording evidence. I added those to the file folder list. In my evaluation program, three are SIX different major categories that have subheadings. Rather than list them all, I have taken a picture of the whole box (see picture 1) and then created a left and right side in subsequent pictures (see pictures 2 and 3). Three quarters of my folders are assigned to the massive Category 1: Teacher Documentation! There's Professionalism, Instructional Planning, Instructional Delivery, Assessment of/for Student Learning, Learning Environment, and Professionalism. To keep it simple, all major headings were written in black ink and tabbed to the far left on the hanging folders. Major heading tabs are affixed to the front part of the file folder while subheadings go on the back part (see picture 4).
If you look at the the second and third pictures, you will note that I have used blue, red, and green ink for the subheading folders (anything black is a major category label). I made sure that the red ink was only used for assessments (formative, summative, student journals, etc.); for any graphs or reports generated from data; professional development (chunked into summer, first semester, second semester), and administrative reports about my performance as an educator. Every subheading folder has its main category number written in black ink so they are easy to keep organized. Category Six is titled Monthly Communications Log; because I know I had a ton of that last year, I inserted a file pocket for each month because hanging file folders won't hold everything. I also used those file pockets for the three times I will have an administrator observing a full class period. All materials, research/rationale, the lesson plan, and a file pocket checklist that also shows what was taught the day before and what will be taught the next day. I'll blog about that closer to Observation #1 time, I promise.
As you work through your files, you will start to realize that much of what is in the box is work you already do. My next blog will take a look at some of the "Duh!" files that you can fill long before the first bell rings at the end of summer.
This is why a notebook system does not work for me. The file box has a bigger capacity and gives me the freedom of not lugging the whole thing with me when I need to work on something. By the way, make sure you have students who know to grab your box if there is a fire drill!
Notice that the far left tabs are written in black ink and are numbered according to the categories in TalentEd. That leaves you four slots left to put plastic tabs on. The red ink tabs are special folders where I have to develop reports/graphs or where my principal has to generate feedback from observations, etc. Some categories need a file folder that catalogs the evidence/archives. For instance, the TEACHER DOCUMENTATION LOG will have a table of contents of all artifacts and evidence that is in the box.
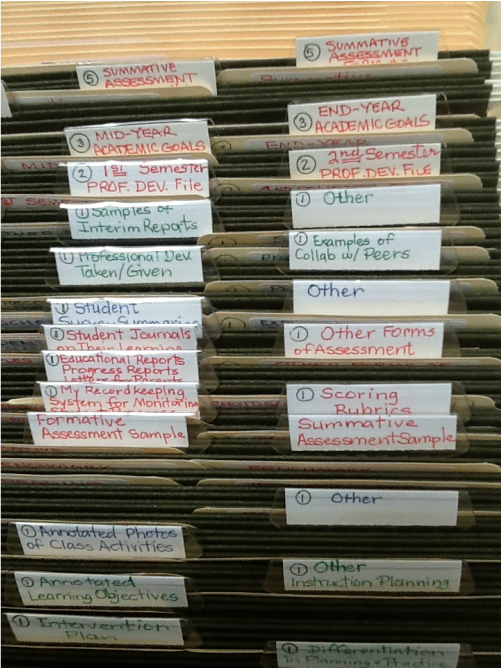
This is the far right side of the box. Some categories and subheadings in TalentEd did not have enough "archive" or "evidence" listed to warrant folders or tabs in the right side of the box. Again, the red ink has a special purpose. My principal liked that feature when he approved the box last week.
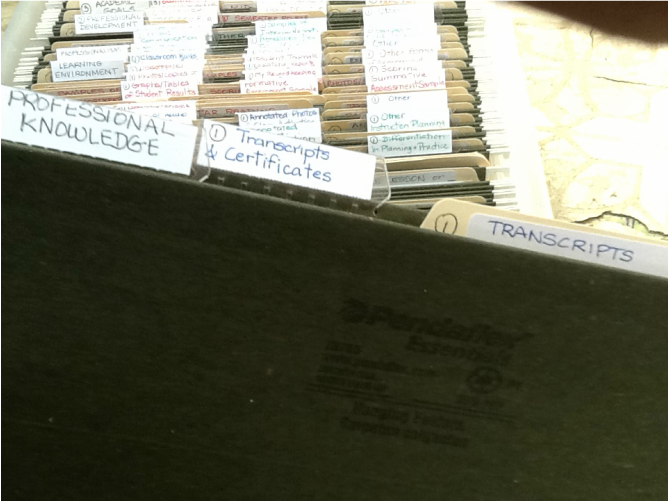
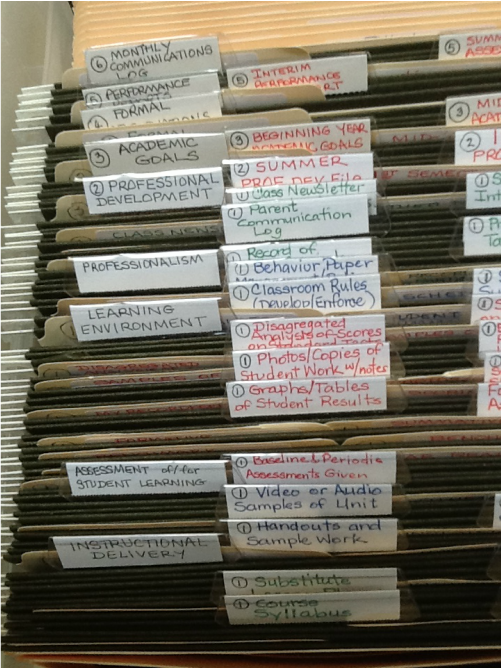
How you place your plastic tabs on hanging folders can be useful. Here is the first hanging file in my box. Notice that PROFESSIONAL KNOWLEDGE is a heading tab (ALL CAPS, black ink). It is mounted to the front of the hanging folder to the *far* left. Now look at the plastic tab that says Transcripts & Certificates (Upper and lower case, blue ink); it is mounted in the second position in the back part of the hanging file folder. The archive manilla file label matches the archive tab. If I remove the folder, I know exactly where to refile it. Likewise, my principal knows where to find my evidence should he need to spot check or look at something later. This takes some work setting up, but it's worth not having to live through chaos later!

 RSS Feed